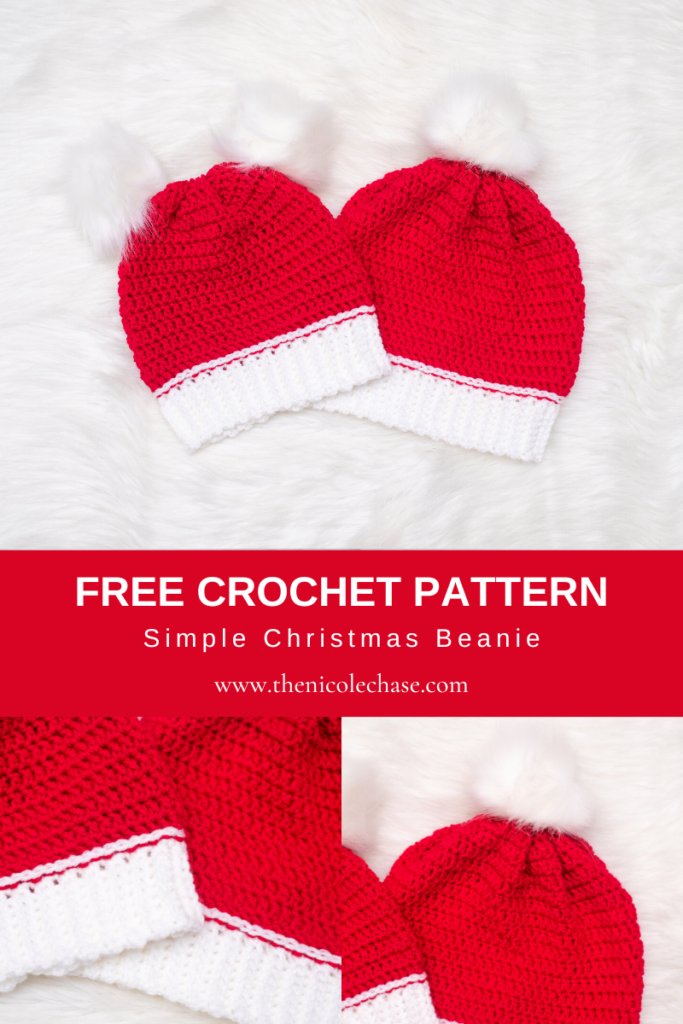
Simple Christmas Beanie – Free Crochet Pattern
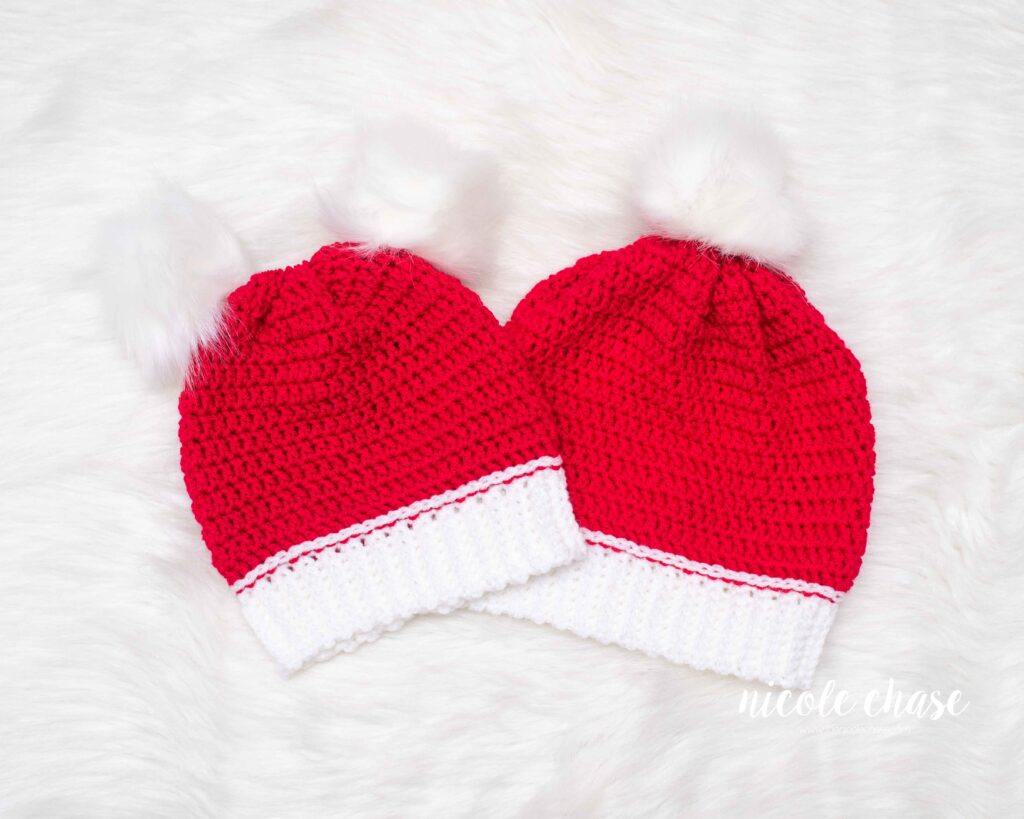
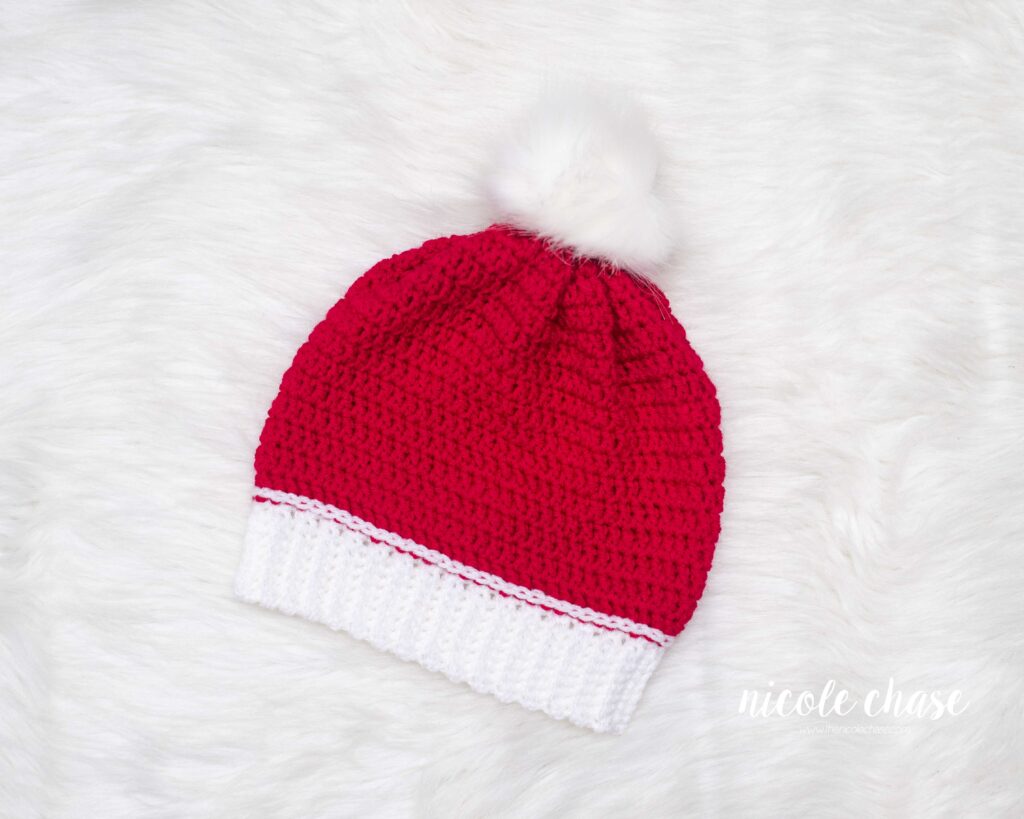
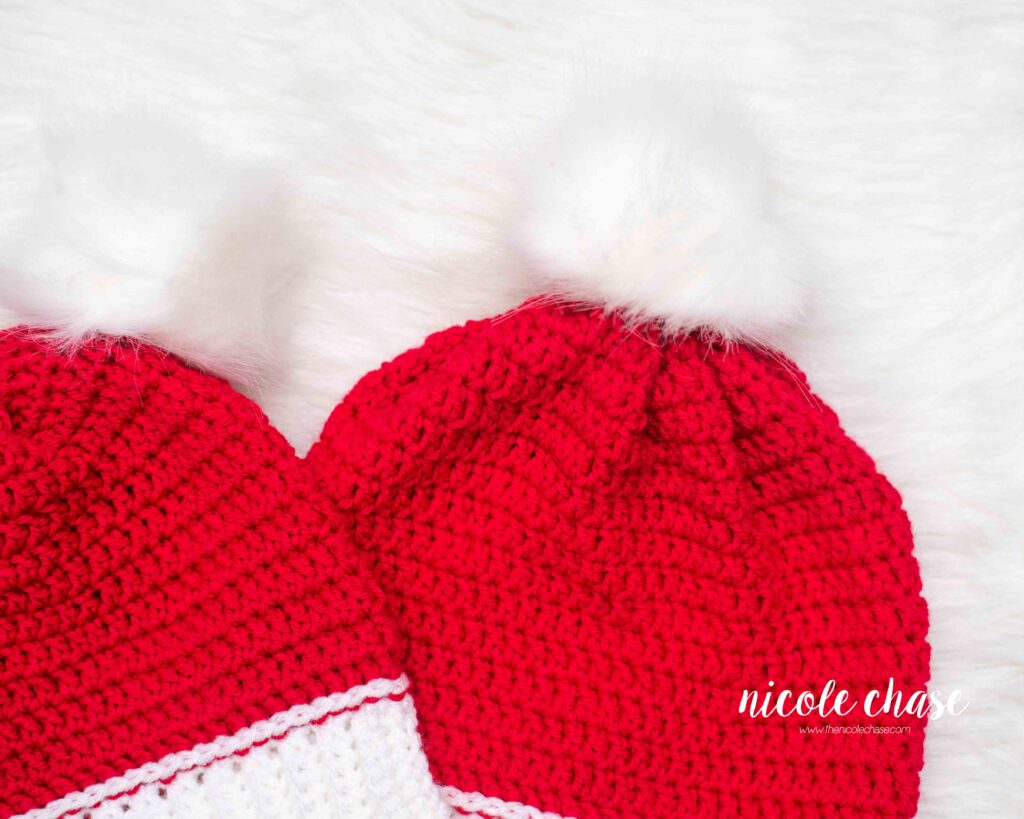
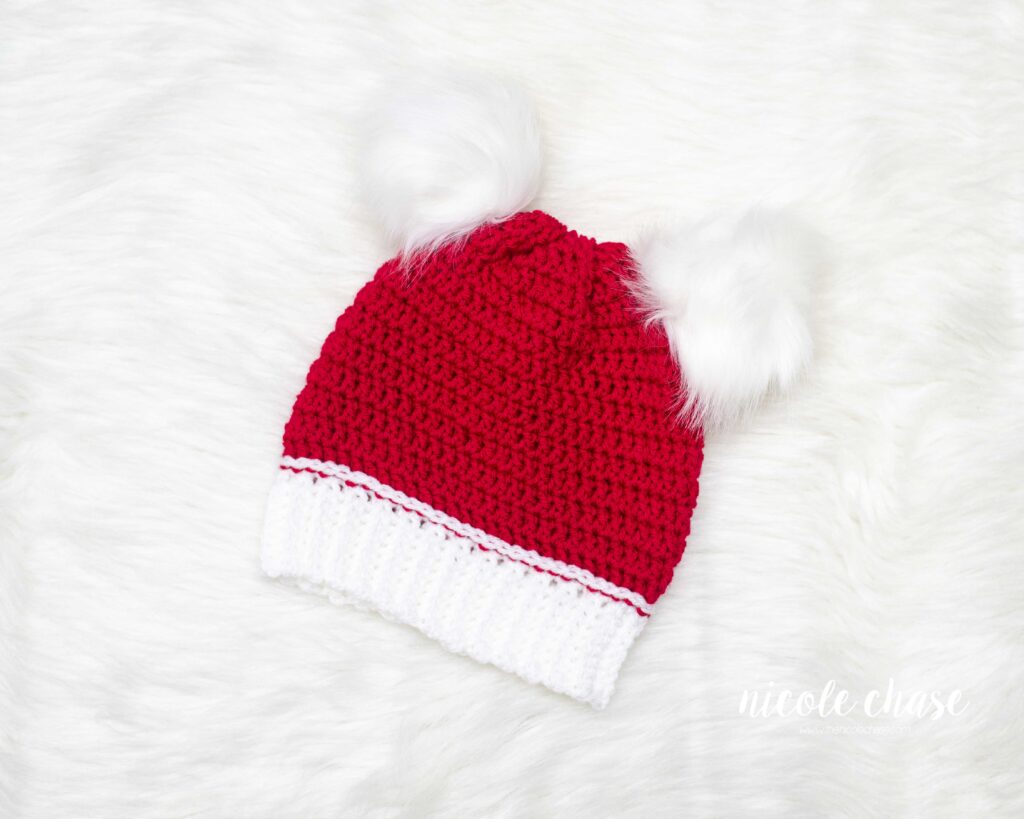
I love matching with my kids, so I decided to make crochet Santa hats for the whole family! This free crochet Christmas hat is a simple design and is great for beginners. It is gender neutral, and the free crochet Christmas beanie pattern includes a full range of sizes. Note to mention that there is a full video tutorial and photo tutorial to go along with the crochet Christmas hat pattern!
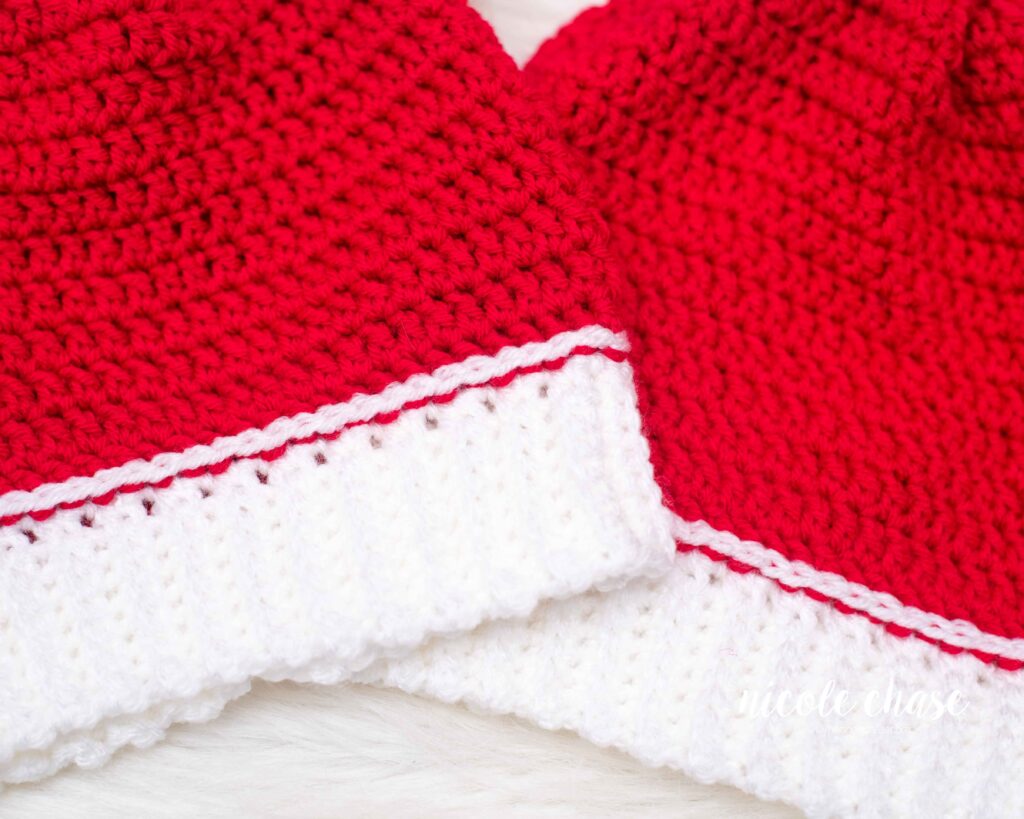
This beginner crochet hat pattern is worked from the ribbed brim up to the top of the hat, which I find to be the best method for getting accurate sizing. With this method, you are able to continuously check the sizing of the crochet beanie as you work, and adjust the number of rows, if needed.
Table of Contents
I hope you enjoy this free crochet pattern available here on my blog! An ad-free, formatted PDF version of this crochet pattern is also available for purchase here:
Pin this free crochet Christmas hat pattern on Pinterest so you can find it later.
Make sure to save this pattern to your favorites on Ravelry.
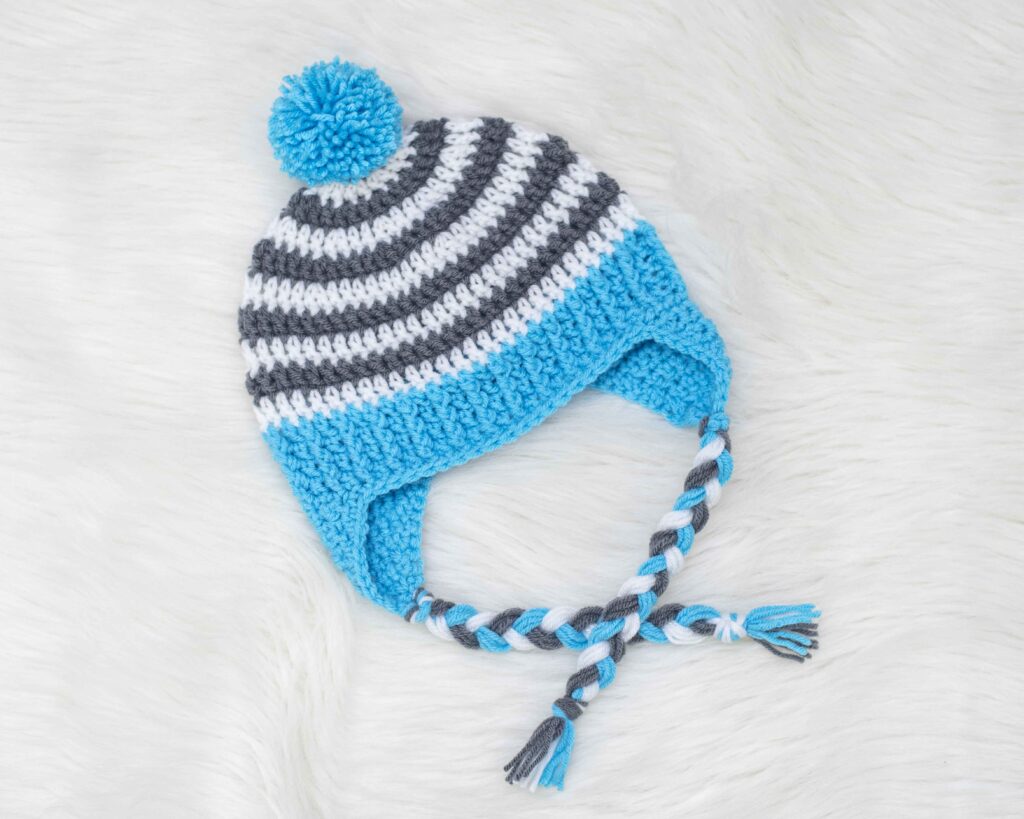
Free Crochet Pattern for Spirit Earflap Hat

Pattern Specifics
Size: 0-3 months, 3-6 months, 6-12 months, toddler, child, teen, adult
Gauge: 2” = 4 DC rows (See approximate circumference / length for each size)
Hook Size: 5.0mm (H) crochet hook
Other Tools: tapestry needle, scissors (grab these on Amazon)
Yarn Weight: Medium (4), Worsted
Yarn Used: WeCrochet / Knit Picks Brava Worsted
Yardage: color A (white): up to 35 yds, color B (red): up to 125 yds
Other Materials: fur pom pom(s), if desired
Stitch Abbreviations
st = stitch
sl st = slip stitch
ch = chain
SC = single crochet
BPDC = back post double crochet
DC = double crochet
DC2tog = double crochet 2 stitches together
Notes
- Chain 1 or 2 at the beginning of each row does NOT count as a stitch (unless otherwise specified).
- Approximate circumference for each size is the measurement that your band should comfortably stretch to (the actual length of your band will be shorter).
- See tutorial photos.
- You can find the full video tutorial of this crochet Christmas hat pattern here. The video displays the pattern in a child size. The full range of sizes is available in the written pattern, which is available below the video.
This video is also available on YouTube. Watch this video: Simple Christmas Beanie Crochet Tutorial on YouTube.
Pattern
0-3 Months
Approx. circumference: 13” / Approx. length:5”
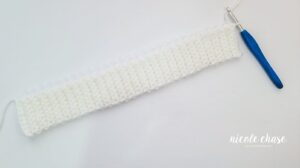
Ribbed Band
Using color A (shown as white):
R1: Ch 7, SC in second ch from hook and each st to end of row. (6 sts)
R2-35: Ch 1, turn, working in the back loops of previous round, SC in each st across. (6 sts)
Bring both ends of band together and join with a sl st to the top of first row. Sl st the two ends of the band together.
Do not fasten off.
Flip the band to hide the join on the inside of the hat.


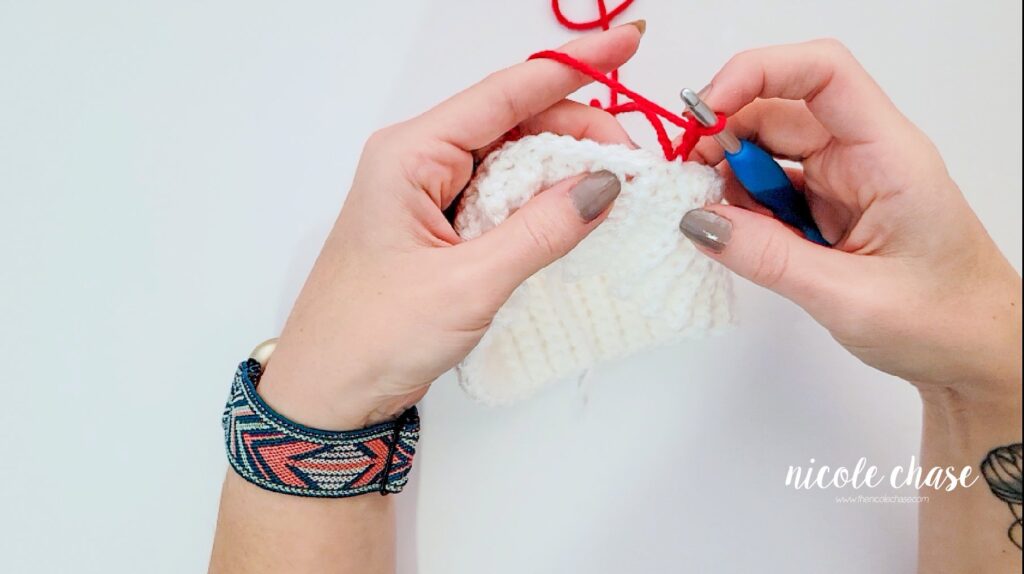
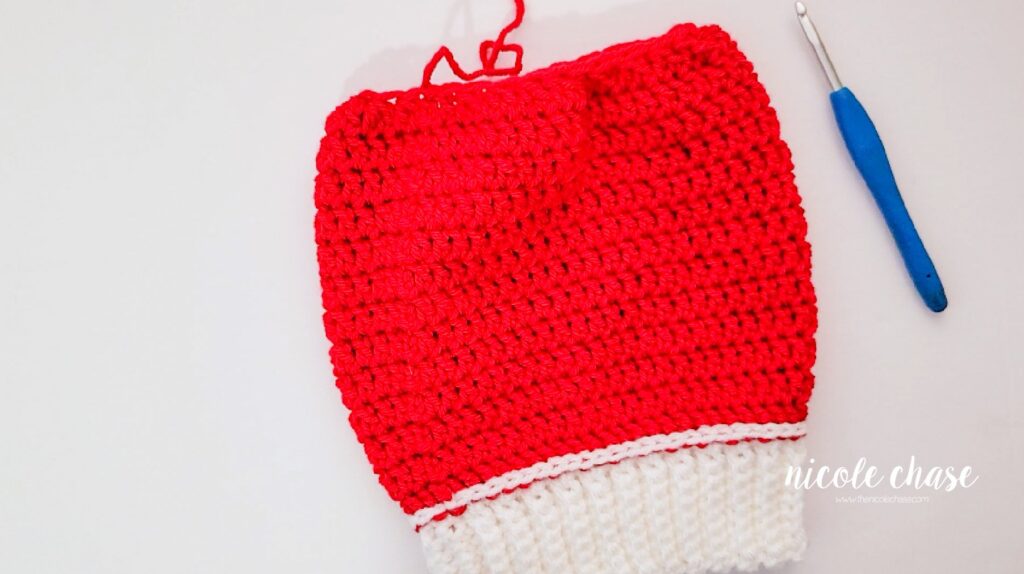
Hat Body
R1: Ch 1, work 1 SC along the top of each row in the ribbed band. Join with a sl st to beginning SC. (35 sts)
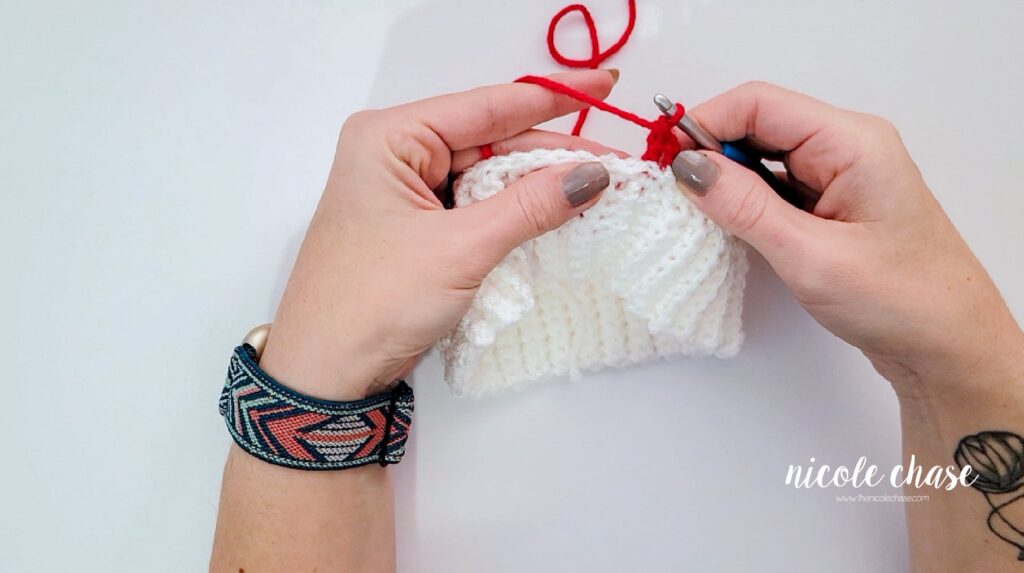
Using color B (shown as red):
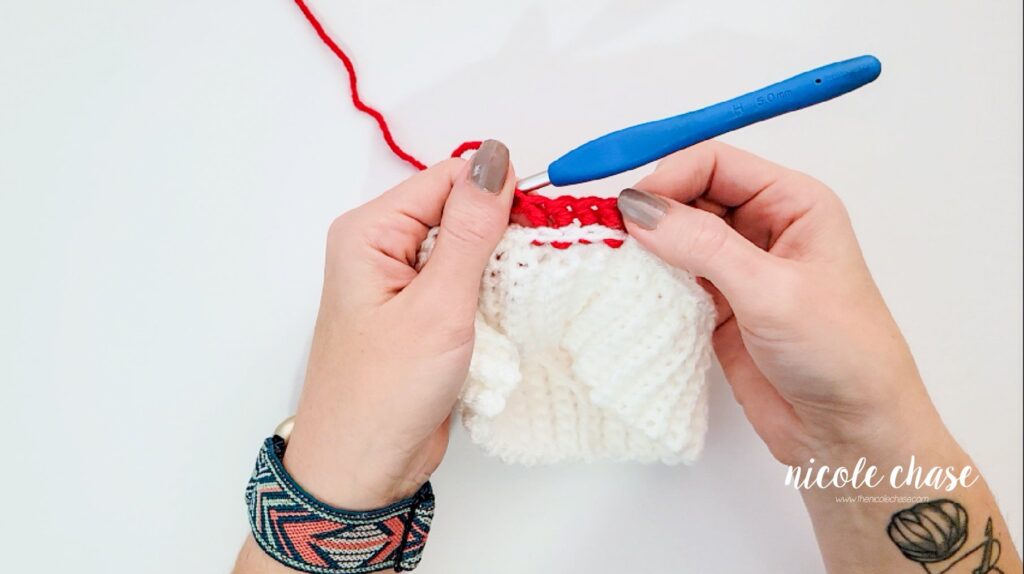
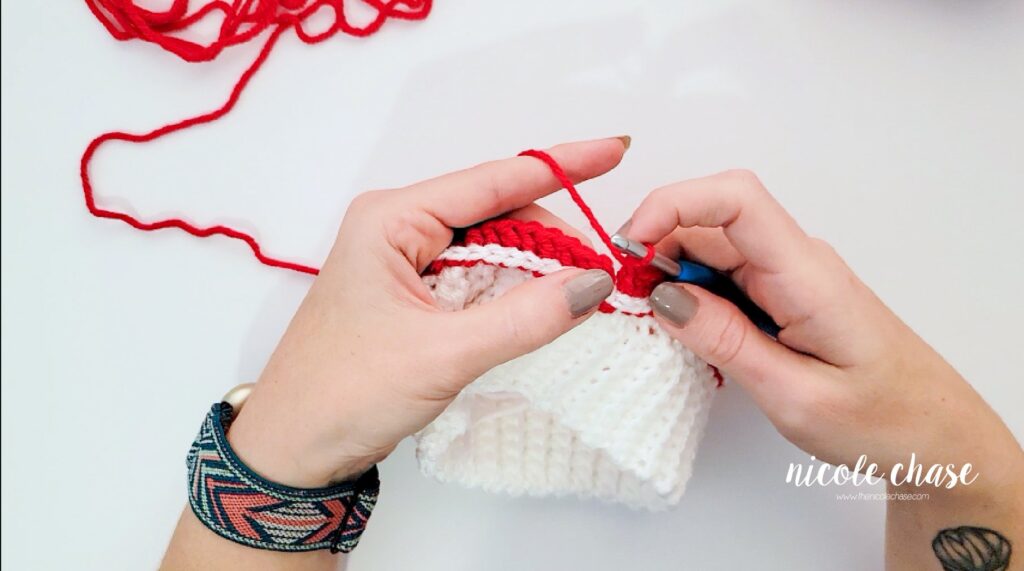
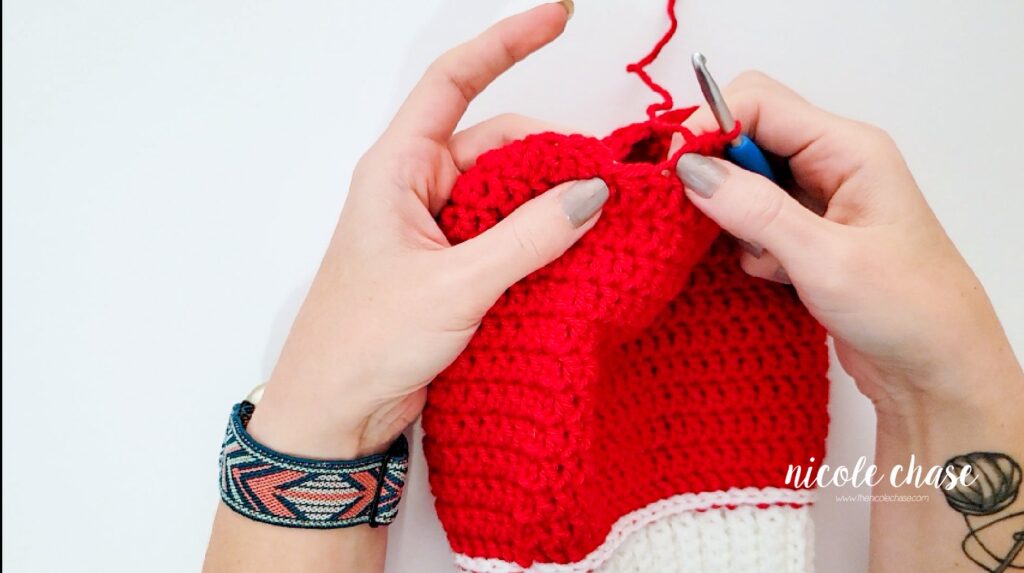
R2: Ch 2, 1 BPDC in each stitch around. Join with a sl st to beginning. (35 sts)
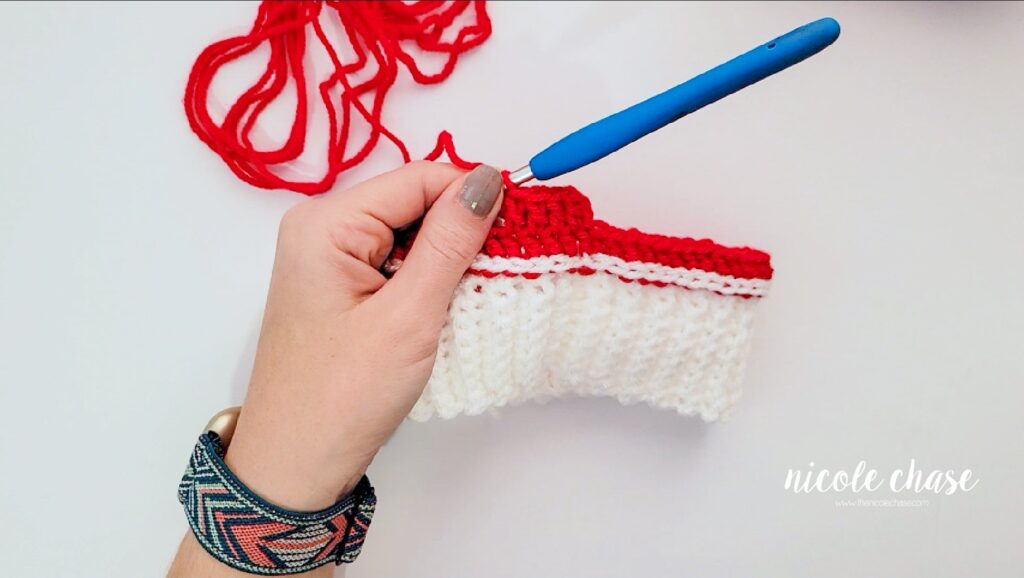
R3-9: Ch 2, 1 DC in each stitch around. Join with a sl st to beginning. (35 sts)
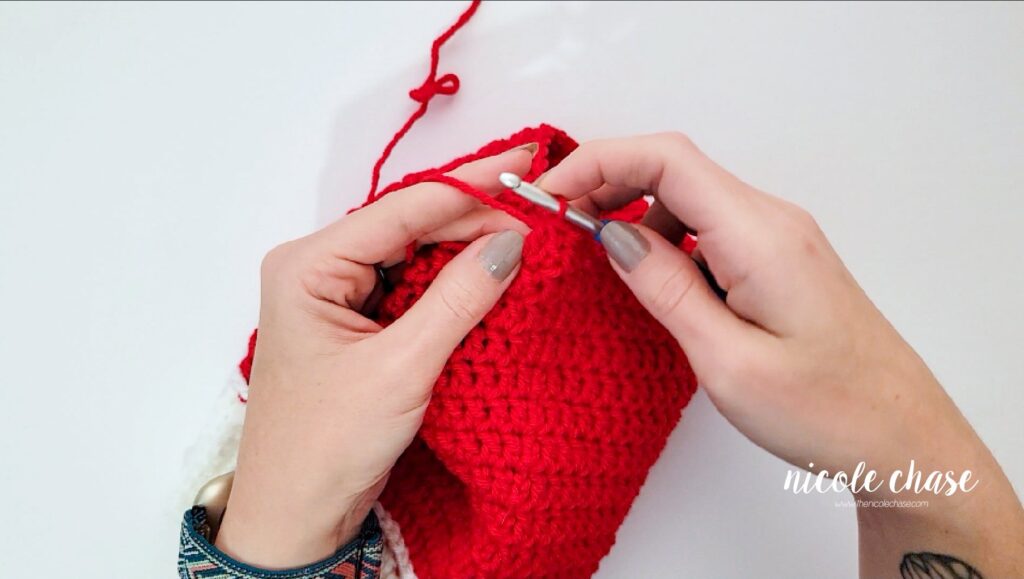
R10: Ch 2, DC2tog around, 1 DC in last st. Join with a sl st to beginning. (18 sts)
Leave long tail for finishing.
Fasten off.
Move to Finishing (All Sizes).
3-6 Months
Approx. circumference: 14” / Approx. length: 5.5”
Ribbed Band
Using color A (shown as white):
R1: Ch 7, SC in second ch from hook and each st to end of row. (6 sts)
R2-40: Ch 1, turn, working in the back loops of previous round, SC in each st across. (6 sts)
Bring both ends of band together and join with a sl st to the top of first row. Sl st the two ends of the band together.
Do not fasten off.
Flip the band to hide the join on the inside of the hat.
Hat Body
R1: Ch 1, work 1 SC along the top of each row in the ribbed band. Join with a sl st to beginning SC. (40 sts)
Using color B (shown as red):
R2: Ch 2, 1 BPDC in each stitch around. Join with a sl st to beginning. (40 sts)
R3-9: Ch 2, 1 DC in each stitch around. Join with a sl st to beginning. (40 sts)
R10: Ch 2, DC2tog around. Join with a sl st to beginning. (20 sts)
Leave long tail for finishing.
Fasten off.
Move to Finishing (All Sizes).
6-12 Months
Approx. circumference: 16” / Approx. length: 6”
Ribbed Band
Using color A (shown as white):
R1: Ch 7, SC in second ch from hook and each st to end of row. (6 sts)
R2-45: Ch 1, turn, working in the back loops of previous round, SC in each st across. (6 sts)
Bring both ends of band together and join with a sl st to the top of first row. Sl st the two ends of the band together.
Do not fasten off.
Flip the band to hide the join on the inside of the hat.
Hat Body
R1: Ch 1, work 1 SC along the top of each row in the ribbed band. Join with a sl st to beginning SC. (45 sts)
Using color B (shown as red):
R2: Ch 2, 1 BPDC in each stitch around. Join with a sl st to beginning. (45 sts)
R3-10: Ch 2, 1 DC in each stitch around. Join with a sl st to beginning. (45 sts)
R11: Ch 2, DC2tog around, 1 DC in last st. Join with a sl st to beginning. (23 sts)
Leave long tail for finishing.
Fasten off.
Move to Finishing (All Sizes).
Toddler
Approx. circumference: 18” / Approx. length: 7”
Ribbed Band
Using color A (shown as white):
R1: Ch 9, SC in second ch from hook and each st to end of row. (8 sts)
R2-50: Ch 1, turn, working in the back loops of previous round, SC in each st across. (8 sts)
Bring both ends of band together and join with a sl st to the top of first row. Sl st the two ends of the band together.
Do not fasten off.
Flip the band to hide the join on the inside of the hat.
Hat Body
R1: Ch 1, work 1 SC along the top of each row in the ribbed band. Join with a sl st to beginning SC. (50 sts)
Using color B (shown as red):
R2: Ch 2, 1 BPDC in each stitch around. Join with a sl st to beginning. (50 sts)
R3-11: Ch 2, 1 DC in each stitch around. Join with a sl st to beginning. (50 sts)
R12: Ch 2, DC2tog around. Join with a sl st to beginning. (25 sts)
Leave long tail for finishing.
Fasten off.
Move to Finishing (All Sizes).
Child
Approx. circumference: 20” / Approx. length: 7.5”
Ribbed Band
Using color A (shown as white):
R1: Ch 9, SC in second ch from hook and each st to end of row. (8 sts)
R2-55: Ch 1, turn, working in the back loops of previous round, SC in each st across. (8 sts)
Bring both ends of band together and join with a sl st to the top of first row. Sl st the two ends of the band together.
Do not fasten off.
Flip the band to hide the join on the inside of the hat.
Hat Body
R1: Ch 1, work 1 SC along the top of each row in the ribbed band. Join with a sl st to beginning SC. (55 sts)
Using color B (shown as red):
R2: Ch 2, 1 BPDC in each stitch around. Join with a sl st to beginning. (55 sts)
R3-13: Ch 2, 1 DC in each stitch around. Join with a sl st to beginning. (55 sts)
R14: Ch 2, DC2tog around, 1 DC in last st. Join with a sl st to beginning. (28 sts)
Leave long tail for finishing.
Fasten off.
Move to Finishing (All Sizes).
Teen / Adult Small
Approx. circumference: 21” / Approx. length: 8”
Ribbed Band
Using color a (shown as white):
R1: Ch 9, SC in second ch from hook and each st to end of row. (8 sts)
R2-60: Ch 1, turn, working in the back loops of previous round, SC in each st across. (8 sts)
Bring both ends of band together and join with a sl st to the top of first row. Sl st the two ends of the band together.
Do not fasten off.
Flip the band to hide the join on the inside of the hat.
Hat Body
R1: Ch 1, work 1 SC along the top of each row in the ribbed band. Join with a sl st to beginning SC. (60 sts)
Using color B (shown as red):
R2: Ch 2, 1 BPDC in each stitch around. Join with a sl st to beginning. (60 sts)
R3-14: Ch 2, 1 DC in each stitch around. Join with a sl st to beginning. (60 sts)
R15: Ch 2, DC2tog around. Join with a sl st to beginning. (30 sts)
Leave long tail for finishing.
Fasten off.
Move to Finishing (All Sizes).
Adult
Approx. circumference: 23” / Approx. length: 9”
Ribbed Band
Using color A (shown as white):
R1: Ch 9, SC in second ch from hook and each st to end of row. (8 sts)
R2-65: Ch 1, turn, working in the back loops of previous round, SC in each st across. (8 sts)
Bring both ends of band together and join with a sl st to the top of first row. Sl st the two ends of the band together.
Do not fasten off.
Flip the band to hide the join on the inside of the hat.
Hat Body
R1: Ch 1, work 1 SC along the top of each row in the ribbed band. Join with a sl st to beginning SC. (65 sts)
Using color B (shown as red):
R2: Ch 2, 1 BPDC in each stitch around. Join with a sl st to beginning. (65 sts)
R3-15: Ch 2, 1 DC in each stitch around. Join with a sl st to beginning. (65 sts)
R16: Ch 2, DC2tog around, 1 DC in last st. Join with a sl st to beginning. (33 sts)
Leave long tail for finishing.
Fasten off.
Move to Finishing (All Sizes).
Finishing (All Sizes)
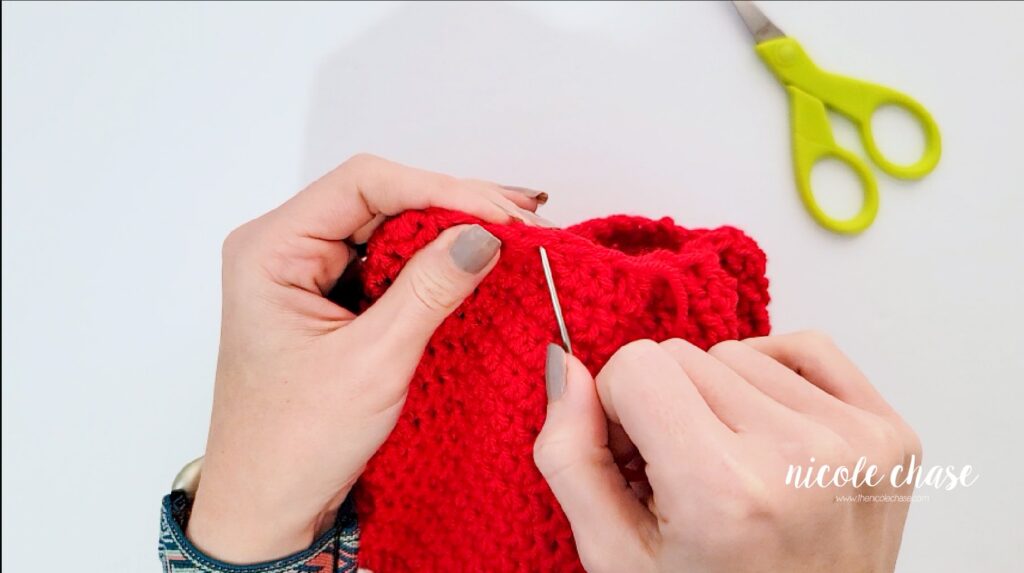
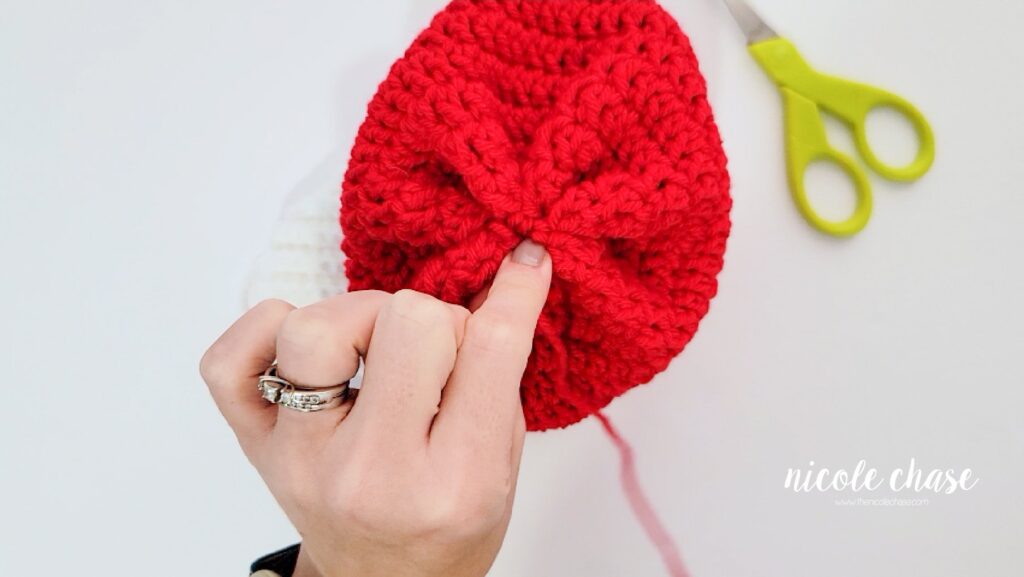
Closing Top
Weave tail of yarn through every other stitch from your last round. Pull tightly and sew hole shut. Fasten off. Weave in ends.
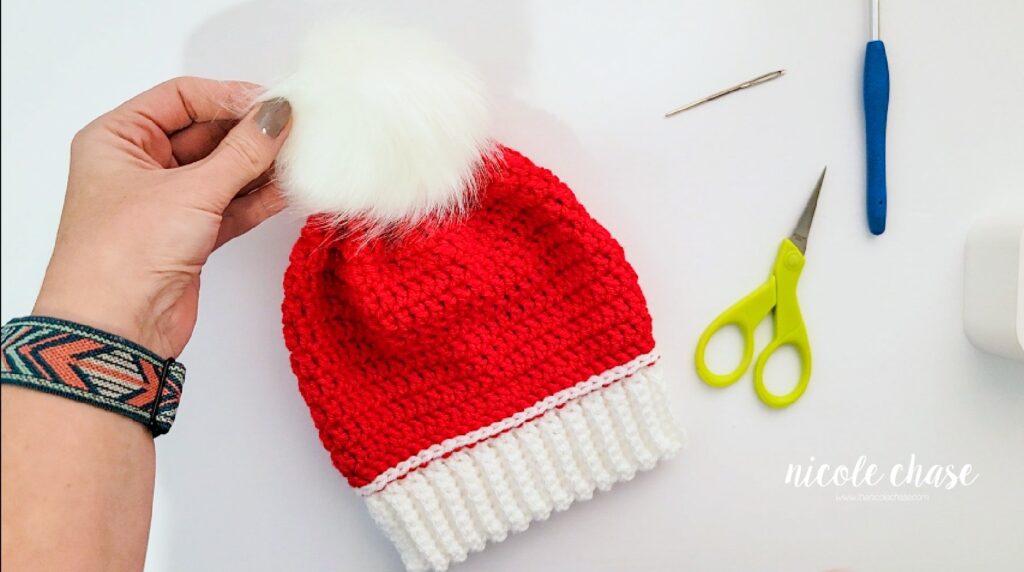
If desired, attach a fur pom.
I hope you enjoyed this free crochet pattern for a crochet Christmas beanie!


Ad-Free PDF Pattern for Simple Christmas Beanie
Tips & Tricks
- To ensure that your crochet Christmas hat works out to the desired size, be sure to check your gauge.
- Choose the size for your crochet Christmas beanie based on the head circumference measurement rather than age sizing alone.
- Check that the band of this crochet Christmas beanie comfortably stretches to your desired head circumference prior to moving on to the body of the hat.
Alterations
- Make this crochet Christmas beanie with stripes or perhaps use red and green colors to make a crochet elf hat!
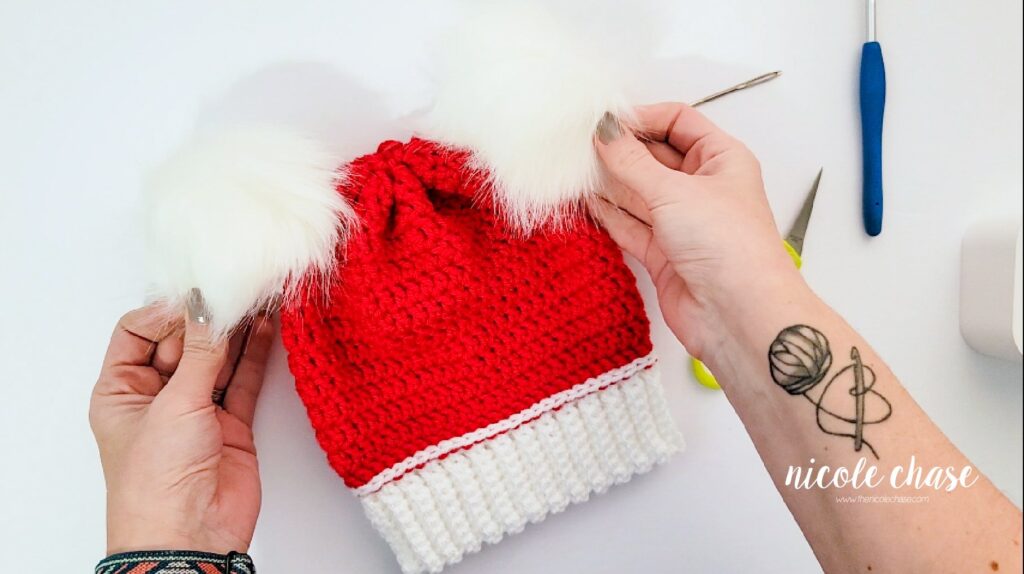
- Use two white fur poms on each side of the top of the crochet Christmas hat instead of one pom right in the middle for a playful hat that is perfect for kids.
- Use a yarn pom instead of a fur pom.
- Crochet the band of the crochet Christmas hat with a fur yarn for a more traditional looking Santa hat.
More Free Christmas Crochet Patterns
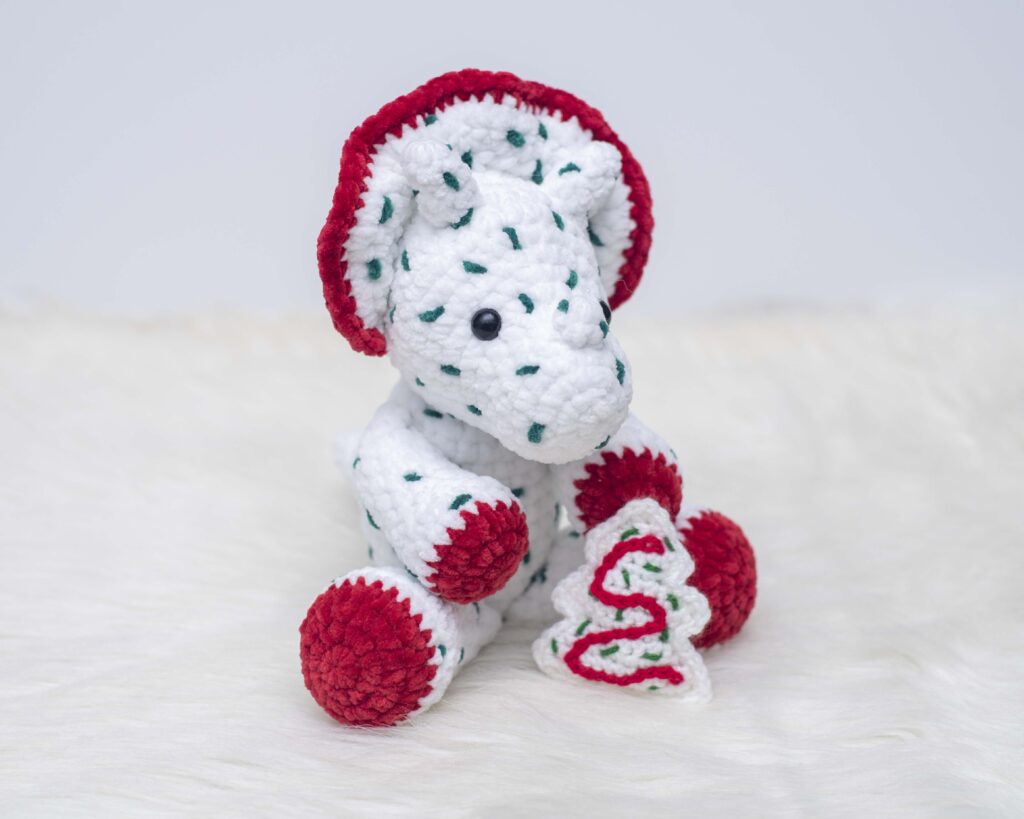
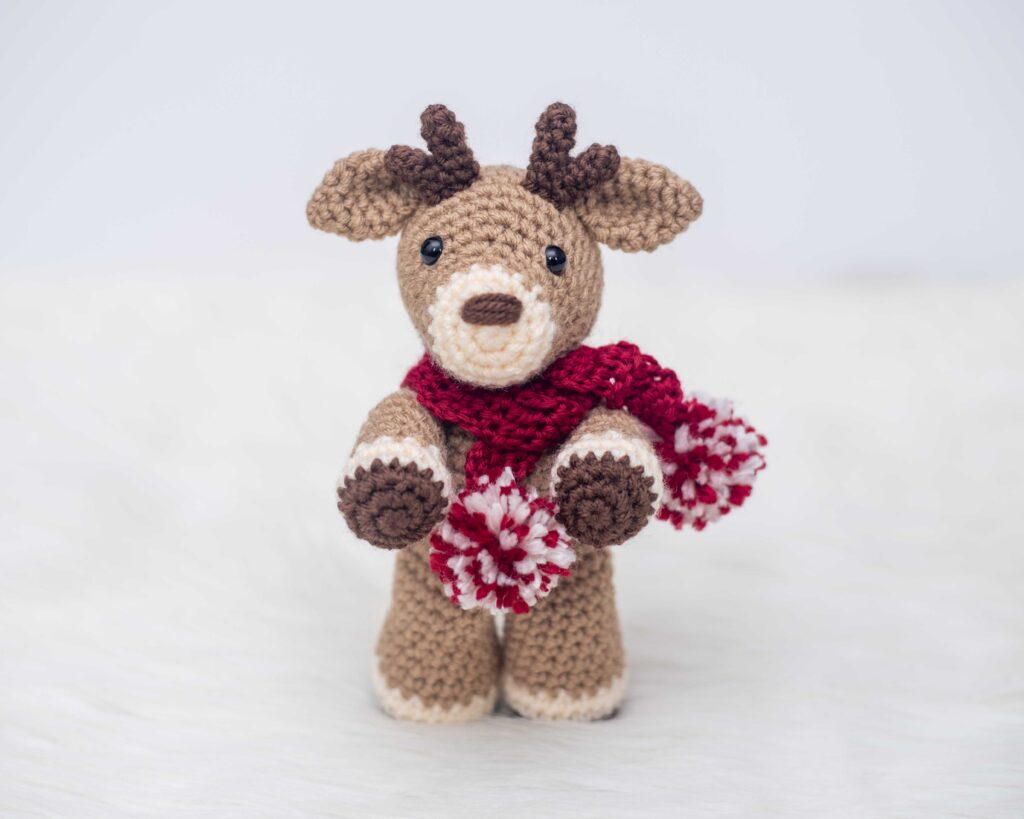
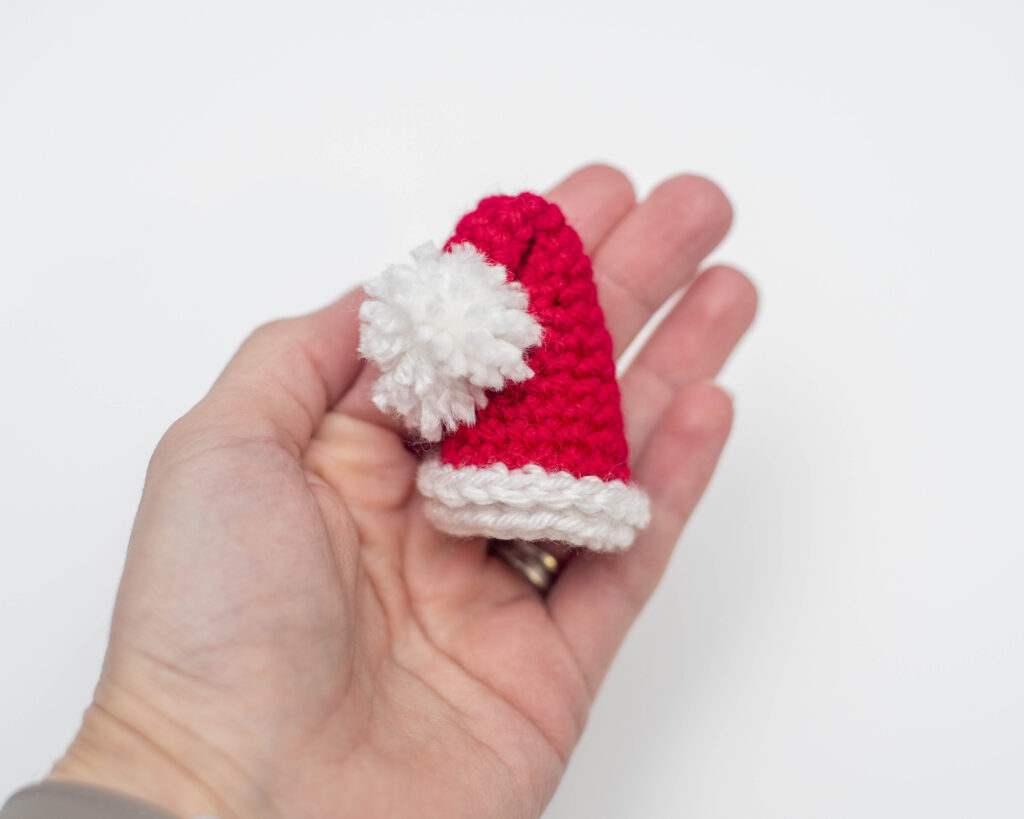
If you’re looking for more Christmas crochet patterns after making this free crochet Christmas hat, be sure to check out my other free crochet patterns for Christmas like this adorable amigurumi reindeer or this adorable Santa hat ornament.
More Free Crochet Patterns for Accessories
Do you love to crochet accessories and other wearable crochet items? Check out my collection of crochet wearables!
I hope you enjoyed this pattern! If you make it, leave me a comment below.
Want to see more from me? Be sure to subscribe to my email newsletter so that you never miss a pattern!
Follow along with me on Instagram for daily updates and a behind the scenes look at my designs.
I’d love to see what you make with this tutorial! Don’t forget to share your finished work with me: on social media by tagging me @thenicolechase, in your Ravelry projects, or post over in my Facebook group!
Thanks for stopping by! Happy crafting!
Nicole
PATTERN COPYRIGHT © 2024 NICOLE CHASE. ALL RIGHTS RESERVED.
PATTERN MAY NOT BE ALTERED, COPIED, REDISTRIBUTED OR SOLD AS YOUR OWN PATTERN.
YOU MAY SELL THE FINISHED PRODUCT ON A SMALL SCALE. PATTERN/DESIGN CREDIT GIVEN TO WWW.THENICOLECHASE.COM IS APPRECIATED. PERMISSION TO SELL DOES NOT INCLUDE MASS PRODUCTION. LARGE SCALE PRODUCTION IS PROHIBITED.
PHOTOGRAPHY COPYRIGHT © 2024 NICOLE CHASE. ALL RIGHTS RESERVED.
PHOTOS MAY NOT BE ALTERED, COPIED, REDISTRIBUTED OR SOLD AS YOUR OWN.