Magic Ring Crochet Tutorial
The crochet magic ring is one of my favorite crochet stitches! It can also be referred to as a magic circle, magic loop, and adjustable loop. Here I’ll walk you through how to make the magic ring, when to use it, and you’ll find a step-by-step video tutorial demonstrating how to make the magic ring!
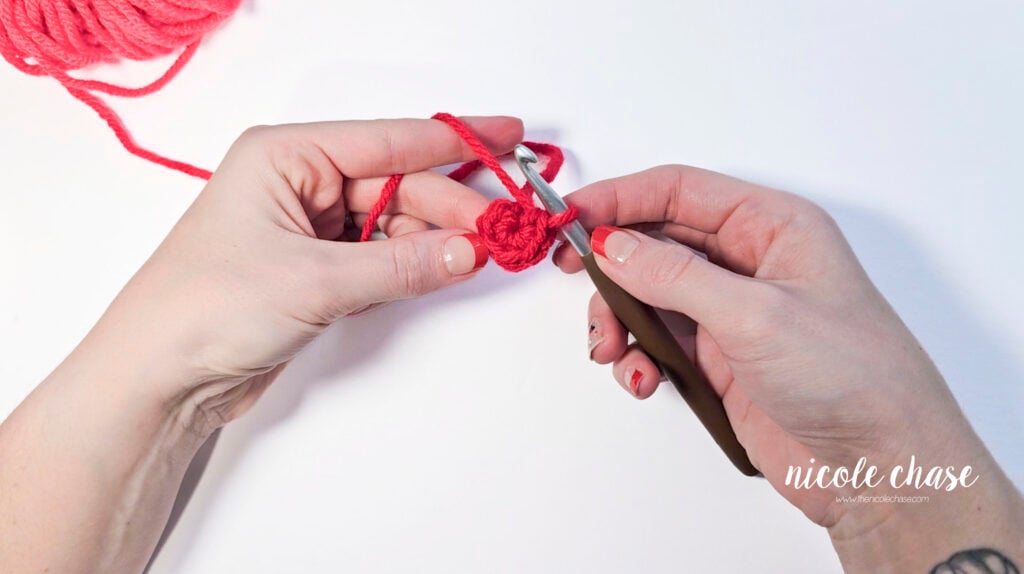
Table of Contents
Why Should I Use a Magic Ring?
Why use a magic circle instead of the chain 2 method? The magic ring eliminates the small hole that can form at the first round of your work! You will be working your stitches into an adjustable loop, and then you’ll close the loop by pulling the yarn tail.
Tightly closing the loop is a huge advantage of the magic ring method, especially if you are making something that requires stuffing, such as amigurumi.
When Should I Use a Magic Ring?
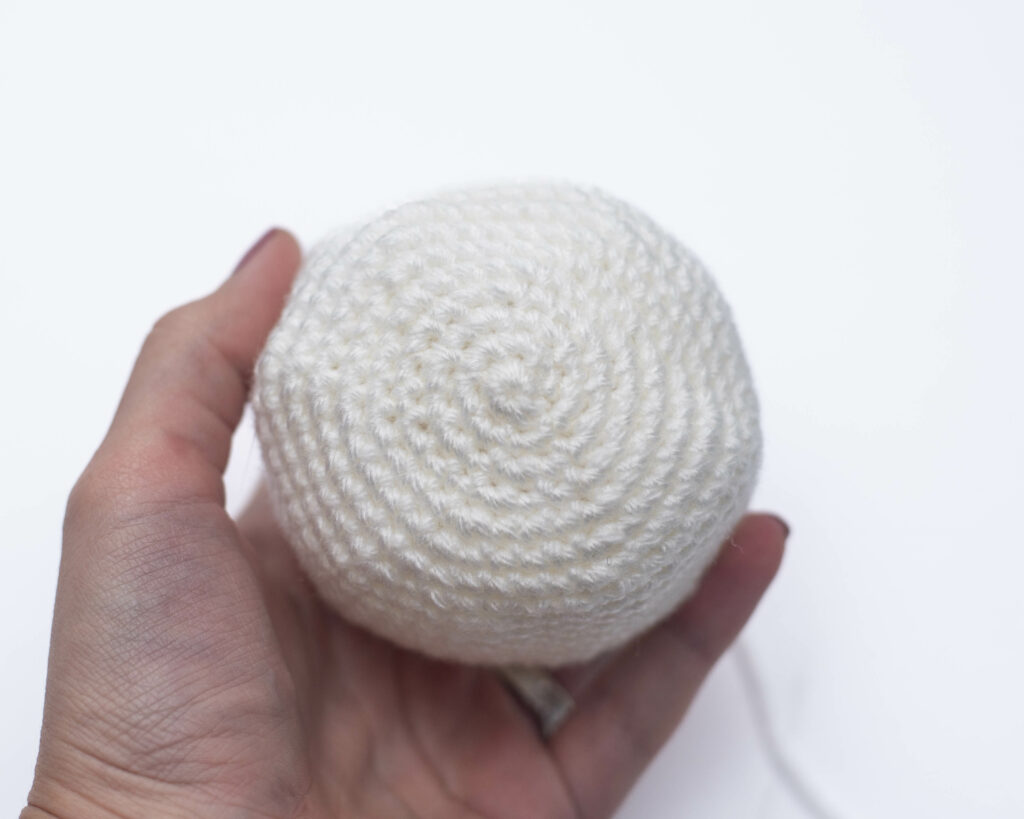
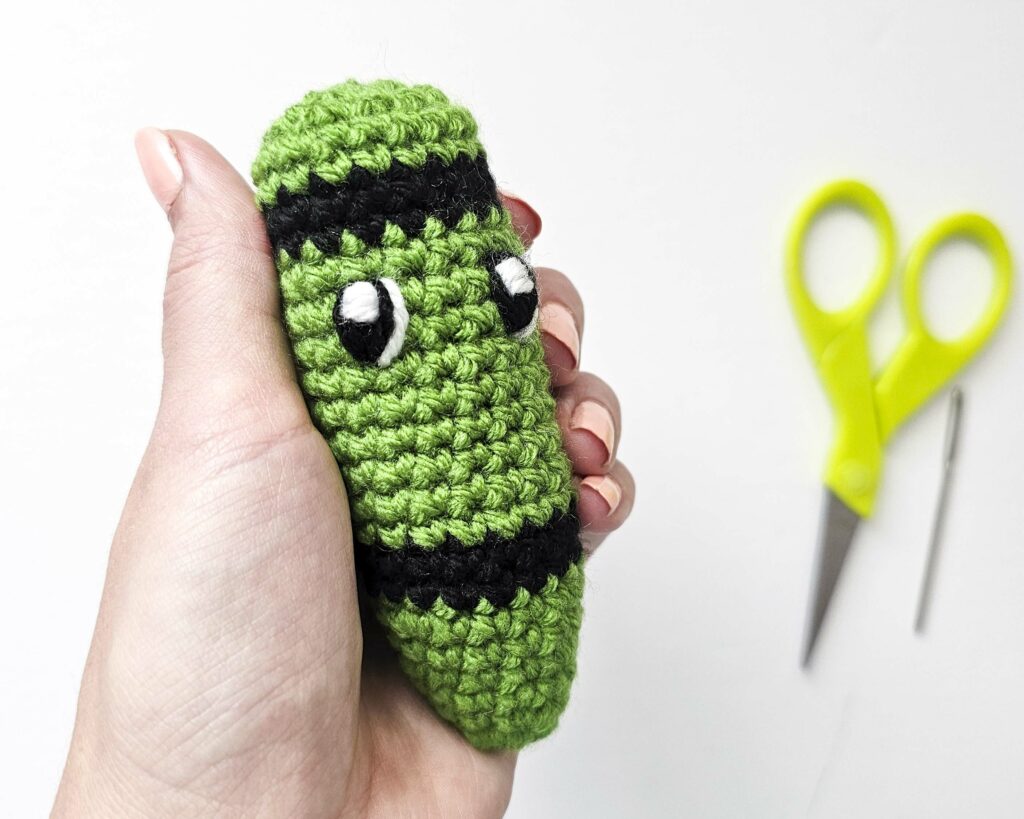
This technique is commonly used to start amigurumi crochet projects when working in the round. I use the magic ring to begin all of my amigurumi projects. I have several amigurumi free crochet patterns to choose from here on my blog!
The magic circle can also be used at the start of hats that are worked from the top down to the brim, granny squares, and in general any flat piece that may be worked in the round.
In amigurumi especially, your pattern may indicate to “Begin with 6 SC in a magic ring.” This is how many of my amigurumi patterns start out. Some patterns may also abbreviate to MR or MC (magic circle).
If the pattern you’re making states “Ch 2, 6 SC in 2nd chain from hook”, this can be replaced with 6 single crochet stitches in a magic ring.
How to Make the Magic Ring
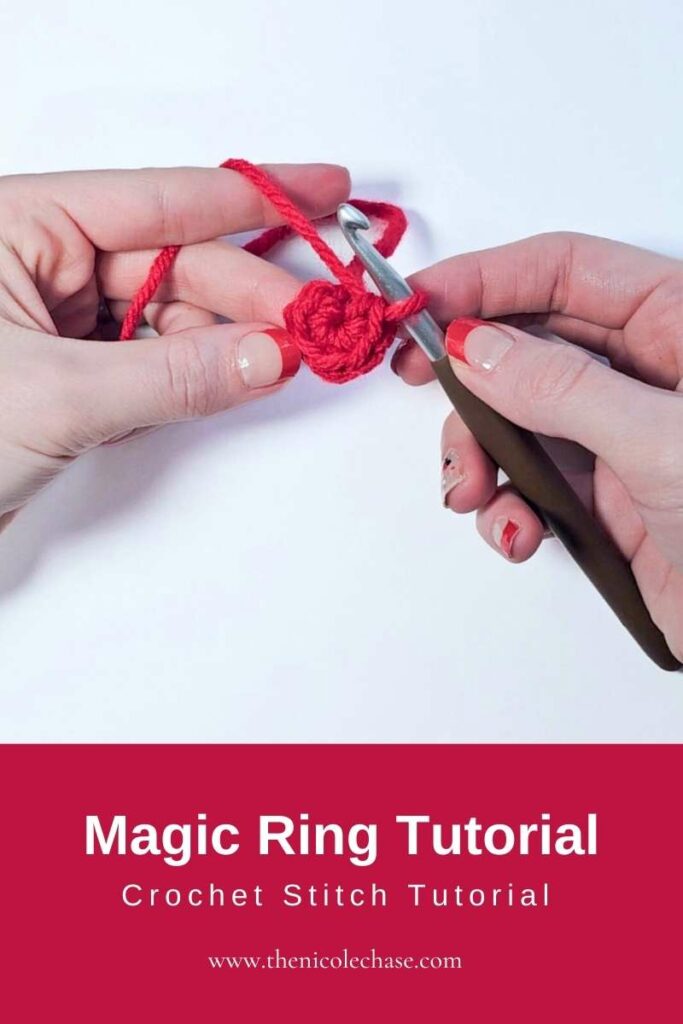
As you can see in the magic ring video tutorial instructions, you will start off by looping the yarn over your fingers. This is the part of the process that makes the loop adjustable. It can be tricky to get the hang of, but it is the most important part! Be sure to use your thumb and ring finger/pinky to hold the yarn in place.
Next you’ll insert your crochet hook under the front piece of yarn, grab the back piece of yarn with your hook, and pull it under the front piece. Then twist your hook to secure a loop around your hook. Create a chain 1 (for single crochet) and then adjust the hold on your yarn so that you can begin working your stitches. If you were making the MR for a taller stitch, you would need additional chain stitches (chain 2 for HDC or DC stitches, chain 3 for TC stitches).
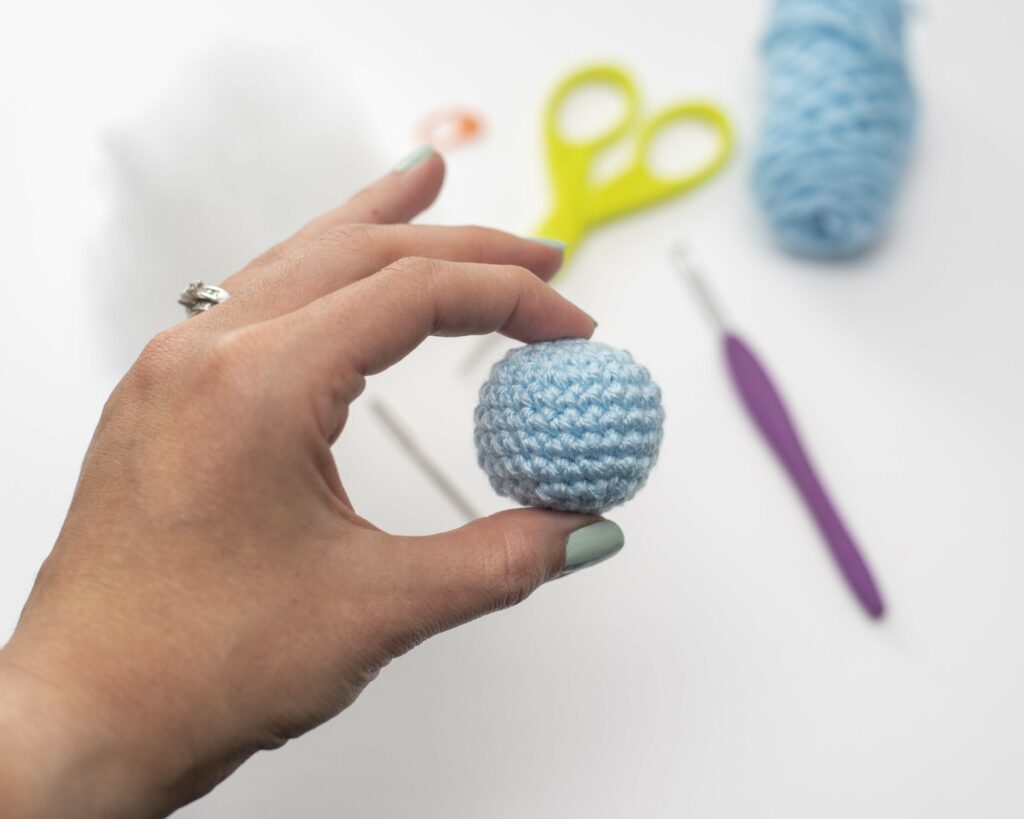
You’ll then work your 6 since crochet stitches around the two strands of yarn that created the adjustable ring. After you’ve completed the required number of stitches, it’s time to tighten the ring!
It’s helpful to hold the last stitch that you worked, and at the same time, pull the yarn tail tightly. This closes the loop and brings your first SC and last SC close together. You’ve now completed the first round of stitches using a magic ring!
If your pattern indicates to slip stitch at the end of the round, you can work a slip stitch into your first stitch. If you are working in continuous rounds, you can now move on to the next round of your pattern as usual!
Video Tutorial for Making the Magic Ring
In this magic ring crochet tutorial I am demonstrating the magic ring using the single crochet stitch, however, it can also be used for the half-double crochet, double crochet stitch, and many others (with the adjustment of the number of chains)!
Please note that this video is for learning the magic ring, and is not intended to teach the single crochet stitch. If you are not familiar with SC, view the full single crochet tutorial here.
This video is also available on YouTube. Watch this video: Magic Ring Crochet Tutorial on YouTube.
Tips for Making a Magic Ring
- Make the first single crochet stitch worked in your magic ring a bit looser than your normal tension. This makes it easier to get the first stitch of your next round into the stitch more easily after closing the loop.
- Making the magic circle with a fuzzy or chenille type of yarn can often be difficult and leave to broken yarn strands. To prevent this, create all stitches in the magic ring a bit more loosely. Tighten the loop very gently. If you feel too much tension on your yarn, try moving the stitches along the loop with your fingers and then try pulling the loop again.
Magic Ring Alternative
Still can’t get the hang of the magic ring? It can be a bit tricky at first. Try this alternative to the magic ring, which will give you the same result.
This is also great for chenille and velvet yarns that often break when the yarn is pulled to close up the magic ring.
Please note that this video is for learning the magic ring alternative, and is not intended to teach the single crochet stitch. If you are not familiar with SC, view the full single crochet tutorial here.
This video is also available on YouTube. Watch this video: Magic Ring Alternative Crochet Tutorial on YouTube.

More Crochet Tutorials
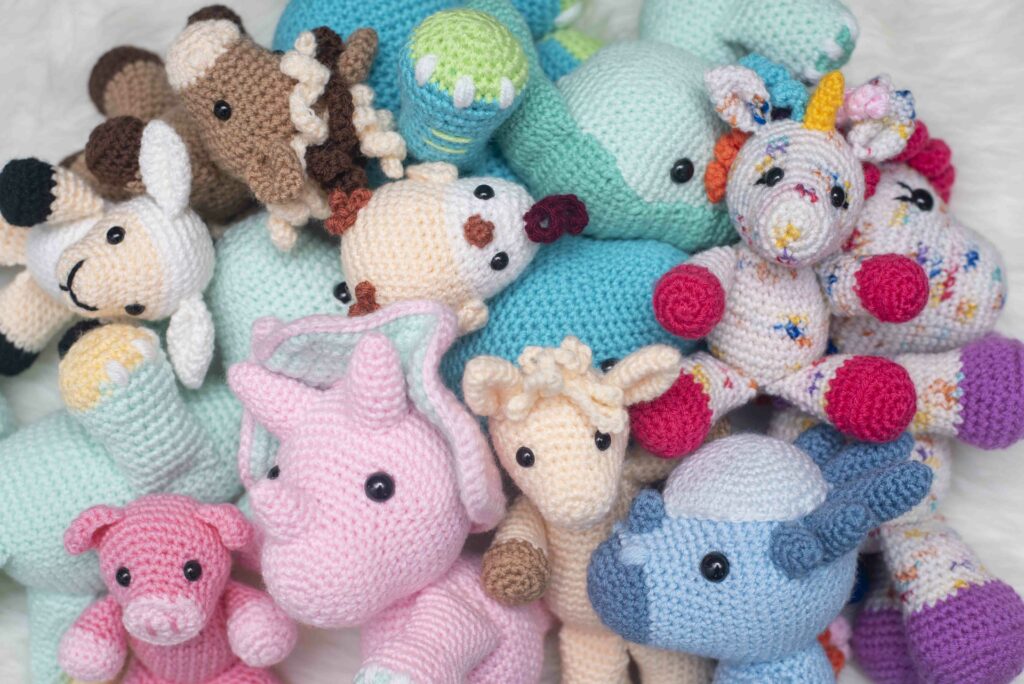
Are you new to amigurumi or just want to learn more? Be sure to check out my post on amigurumi tips and tricks and my tutorial on color changes in amigurumi.
If you’re looking for a tutorial on how to make a crochet slip knot, be sure to check out my post and video tutorial.
Pin this tutorial for later.
I hope you enjoyed this post! Be sure to leave me a comment below to let me know what you think.
Want to see more from me? Be sure to subscribe to my email newsletter so that you never miss a post!
Follow along with me on Instagram for daily updates and a behind the scenes look at my designs.
I’d love to see what you make with this tutorial! Don’t forget to share your finished work with me: on social media by tagging me @thenicolechase, in your Ravelry projects, or post over in my Facebook group!
Thanks for stopping by! Happy crafting!
Nicole
PATTERN COPYRIGHT © 2024 NICOLE CHASE. ALL RIGHTS RESERVED.
PATTERN MAY NOT BE ALTERED, COPIED, REDISTRIBUTED OR SOLD AS YOUR OWN PATTERN.
YOU MAY SELL THE FINISHED PRODUCT ON A SMALL SCALE. PATTERN/DESIGN CREDIT GIVEN TO WWW.THENICOLECHASE.COM IS APPRECIATED. PERMISSION TO SELL DOES NOT INCLUDE MASS PRODUCTION. LARGE SCALE PRODUCTION IS PROHIBITED.
PHOTOGRAPHY COPYRIGHT © 2024 NICOLE CHASE. ALL RIGHTS RESERVED.
PHOTOS MAY NOT BE ALTERED, COPIED, REDISTRIBUTED OR SOLD AS YOUR OWN.